How to Adjust Render Viewport Settings Blender
Blender is a powerful 3D modeling and rendering software relied upon by many artists and designers to create realistic 3D artworks. When using Blender for your creative projects, adjusting render viewport settings is a crucial step that significantly impacts your workflow and final render quality. This article provides a detailed guide on how to adjust render viewport settings in Blender, helping you optimize your workflow and enhance the quality of your work.
I. What are Render Viewport Settings?
In Blender, the viewport is the window where you view and edit your 3D models, and render viewport settings refer to the parameters that affect how your model is displayed in the viewport. These settings allow you to preview and adjust materials, lighting, and shading effects in real-time before final rendering.
II. Why Adjust Render Viewport Settings?
Adjusting render viewport settings allows you to better control the display of your model, improve workflow efficiency, and ensure that the final rendered results meet your expectations. With appropriate settings, you can achieve more realistic preview effects without compromising performance.
III. How to Adjust Render Viewport Settings?
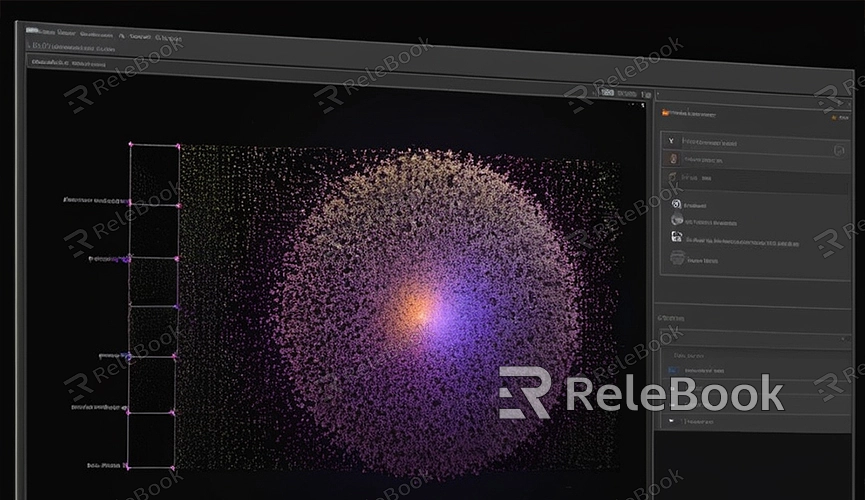
1. Enable Viewport Shading Modes
Blender offers various viewport shading modes to view your model's different aspects during different stages:
- Solid Mode: Displays the basic shape and mesh of the model.
- Material Preview Mode: Shows the model's materials, textures, and basic lighting effects.
- Rendered Mode: Displays the final rendered effect of the model, including all lighting, shadows, and reflections.
You can switch between these modes by clicking on the shading mode button at the top-left corner of the viewport. Material Preview Mode and Rendered Mode are commonly used for most tasks.
2. Adjust Viewport Sampling
Viewport sampling determines the quality and detail of the rendered image in the viewport. Higher sampling results in clearer images but slower rendering speeds. In Blender, you can adjust viewport sampling by following these steps:
- Open the "Properties" panel on the right side (press N).
- Select the "View Layer Properties" tab.
- In the "Sampling" section, locate the "Viewport" settings and adjust the sampling amount.
For regular work, use lower sampling amounts to enhance interaction speed; increase sampling for high-quality previews when needed.
3. Set Viewport Resolution
Viewport resolution determines the size of the displayed image in the viewport. Higher resolutions show more detail but require more computational resources. Adjust viewport resolution by:
- Open the "View" menu in the top toolbar.
- Select "Area" > "Full Screen" to maximize the viewport.
- In the "Properties" panel, locate the "Display" section and adjust the resolution scale.
It's recommended to use lower resolutions during modeling and material adjustments and switch to higher resolutions for detailed previews.
4. Configure Lighting and Shadows
Lighting and shadows are crucial elements affecting render results. Configure viewport lighting and shadows by:
- Adding light sources (e.g., point lights, directional lights, spotlights) in the viewport.
- Adjusting light position, intensity, and color.
- In the "Properties" panel, find the "Shadow" options, enable and adjust shadow settings.
Properly configuring lighting and shadows allows your model to display more realistic effects in the viewport.
5. Use Viewport Display Options
Blender provides extensive viewport display options to help you examine various aspects of your model. Use shortcut keys like Z to switch between display modes such as wireframe, solid, and rendered. Additionally, find more display options in the "Properties" panel, such as grid, normals, edges, and vertices.
By adjusting Blender's render viewport settings effectively, you can significantly enhance workflow efficiency and work quality. It's advisable to flexibly adjust these parameters based on specific needs to find the optimal setup for your projects. If you need high-quality 3D textures and HDRI for modeling and virtual scene creation, or to download 3D models, you can get them from Relebook for direct import into your models.
